Acronis Backup Cloud provides us with a unified Cloud Console and has a multi-tenant and multi-tier web console for managing server. Acronis offers backup storage on their own cloud(Acronis Cloud), third party cloud(AWS, GPC, Azure) or on-premise servers. Here we are setting up Acronis Backup cloud on On-premise server to keep backups of cPanel servers. The configuration of Acronis Backup Cloud includes major three steps:
- Creating Acronis cloud account
- Installing Acronis Software Defined Infrastructure (SDI) on On-premise server
- Configure Backup in Acronis.
- Installing Acronis agent on servers.
Creating Acronis cloud account
Register an account on the Acronis website from the URL below:
https://www.acronis.com/en-us/cloud/service-provider/platform/
Once the registration is completed and email is verified a trial account with storage space of 1TB will be provided. Additional storage space can be purchased by contacting the sales team. After this, Acronis cloud dashboard will be accessible via the URL: https://eu-cloud.acronis.com/login. A username similar to SP3564364 and password will be available in the registered email id.
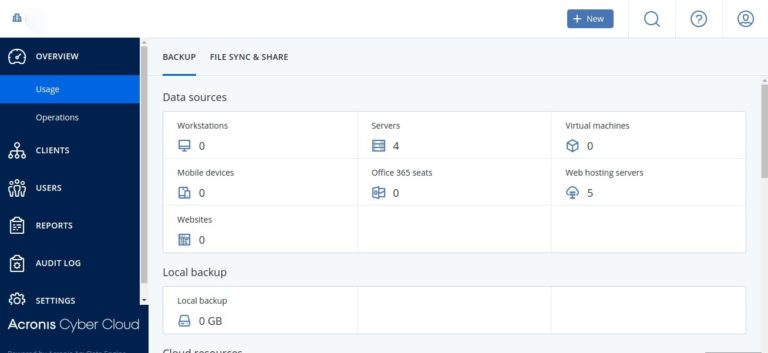
The Acronis cloud dashboard will be as shown below:
Installing Acronis Software Defined Infrastructure (SDI) on On-premise server
To install Acronis SDI our server should have at least 16GB RAM and a minimum of 4 hard disks of your desired capacity. You can get the ISO file for installing SDI from Acronis Dashboard >> Settings >> Locations >> Add backup storage >> Download ISO.
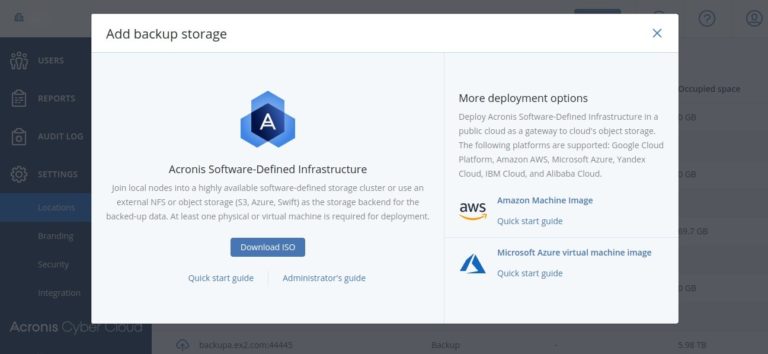
2. This ISO should be mounted to the server for installation, you can contact your DC for mounting them to the server or request a KVM access to the server. Once the ISO is mounted start the server and proceed with KVM access. The installation is very similar to that of installing a CentOS server. The step by step procedure is given below:
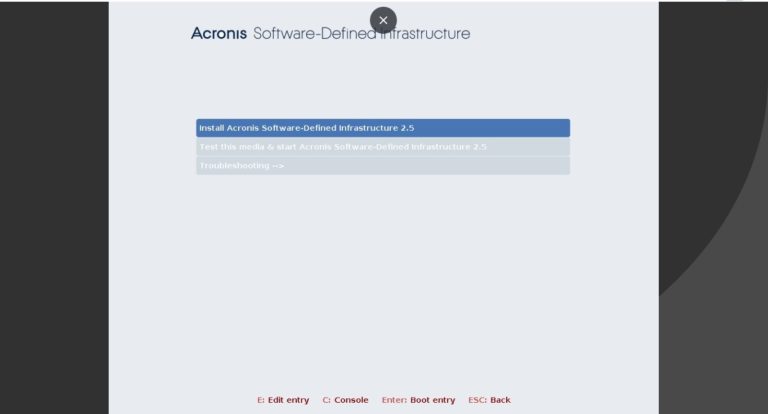
From the boot screen select the first entry by pressing the Enter key.
3. Wait till the Installer is loaded and you will be able to view the normal CentOS Installation Summary.
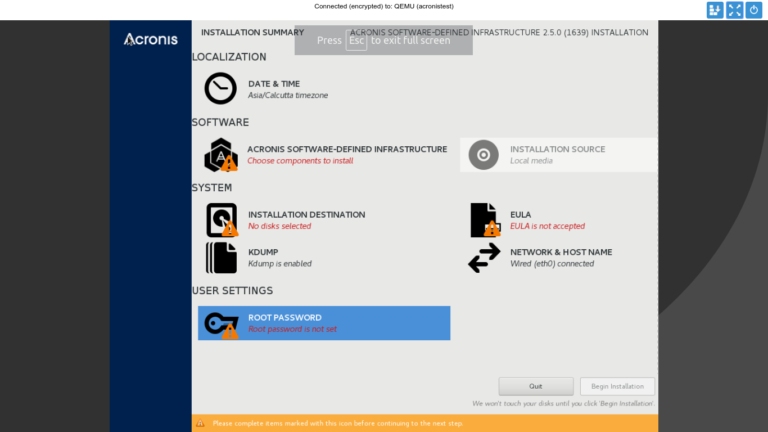
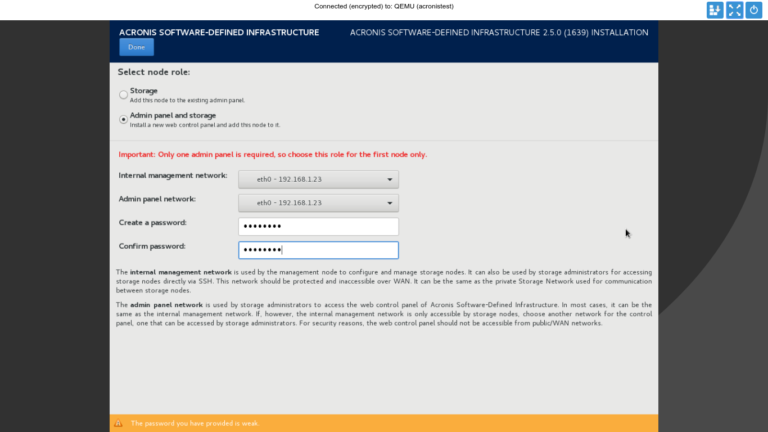
4. From Acronis Software-Defined Infrastructure select “Admin panel and Storage” option and provide a password for SDI admin.
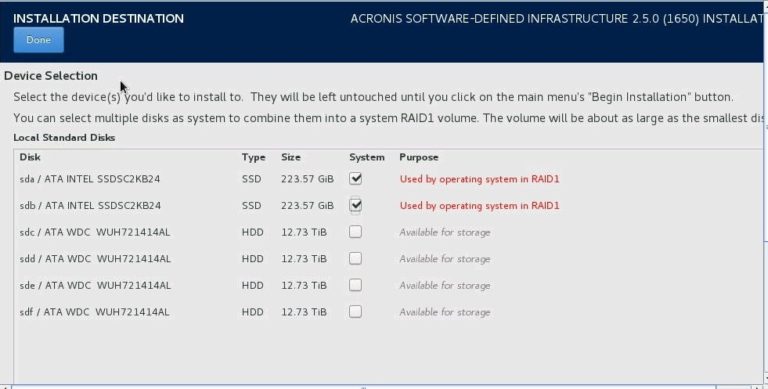
5. On Installation, destination selects the drive in which the OS to be installed. Here two SSDs are used for installing OS and 4 12TB hard disks are used for storing the backup.
6. All other options are self-explanatory. Configure those and begin the installation. Once the installation is completed you can access the Acronis SDI dashboard from https://server.ip:8888
Log in to the dashboard using the username (admin)and password created in step 4.
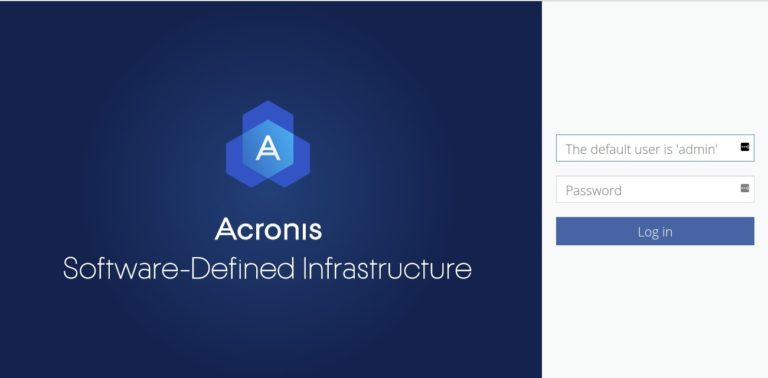
Once we have logged into the dashboard we need to create a storage cluster and backup gateway to connect to Acronis cloud.
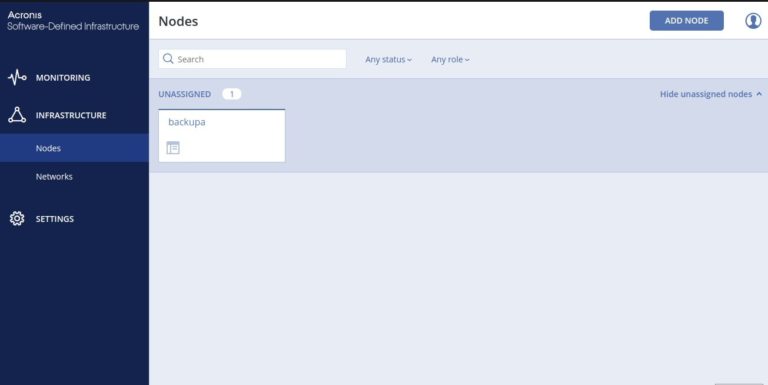
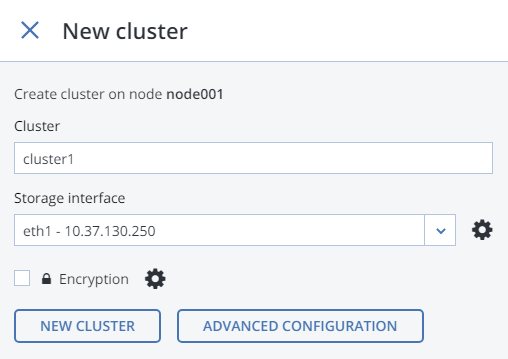
7. Open the INFRASTRUCTURE > Nodes screen and click a node in the UNASSIGNED list. On the node overview screen, click Create cluster. In the Cluster field, type a name for the cluster.
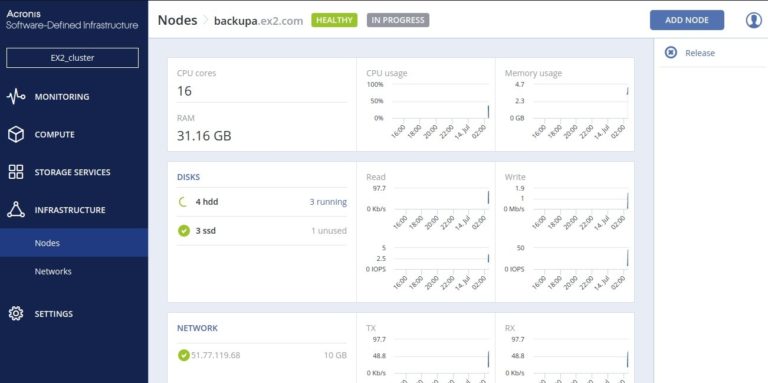
8. You can monitor cluster creation progress in the HEALTHY list of the INFRASTRUCTURE > Nodes screen. The creation might take some time depending on the number of disks to be configured. Once the automatic configuration is complete, the cluster is created.
Next step is to connect Acronis Backup Software to Storage Backends via Backup Gateway
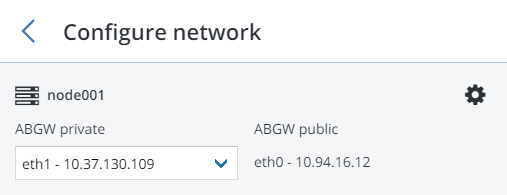
9. On the INFRASTRUCTURE > Networks screen, make sure that the ABGW private and ABGW public traffic types are added to your networks. In the left menu, click STORAGE SERVICES > Backup. Select the node(s) to run the gateway services on and click Create gateway in the right menu. Select This cluster as a storage type. Make sure the correct network interface is selected in the corresponding drop-down list. Click NEXT.
10. Select the network interface from the drop-down list.
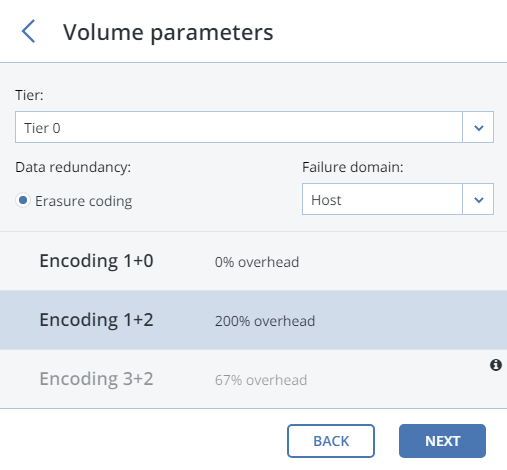
11. Select Volume parameters.
12. Setup the DNS configuration.
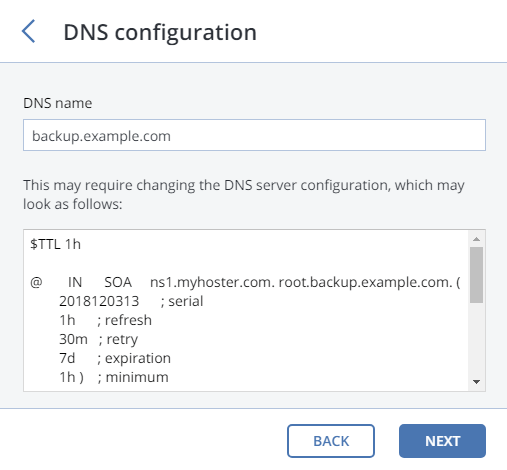
13. Once this is done on the Register in backup software pane, specify the following information for your Acronis product:
In Address, specify the address of the Acronis Backup Cloud management portal (e.g., https://cloud.acronis.com/)
In Account, specify the credentials of a partner account in the cloud or of an organisation administrator on the local management server and click Done.
This completes the SDI installation and under Acronis backup cloud >> Settings >> Location this SDI will be visible.

Configure Backup on Acronis
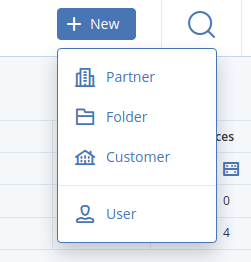
- Since Acronis uses a multi-tenant architecture we need to create a customer account before configuring backup. From the dashboard create new customer account from “+New” on the top right corner. The location of the backup destination has to be selected on creating the customer account.
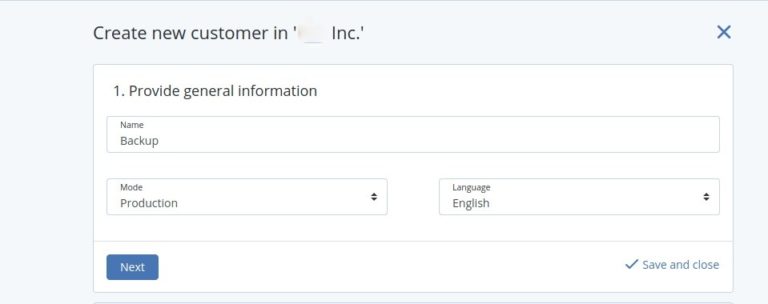
2. Enter the name for the customer and click next.
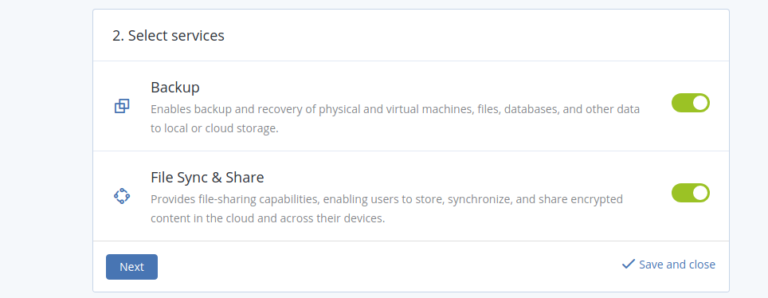
3. Select the services.
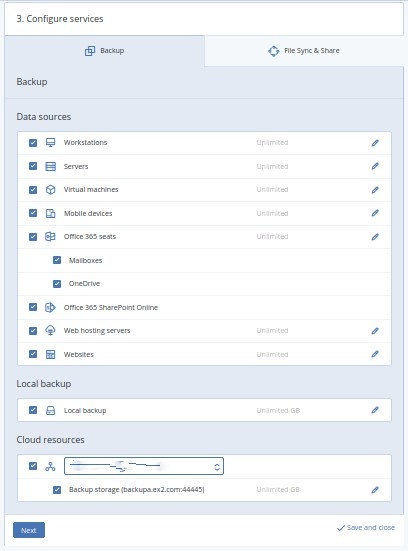
4. Configure the Services. The On-premise server (SDI) is selected from Cloud Resources.
5. Create Administrator.
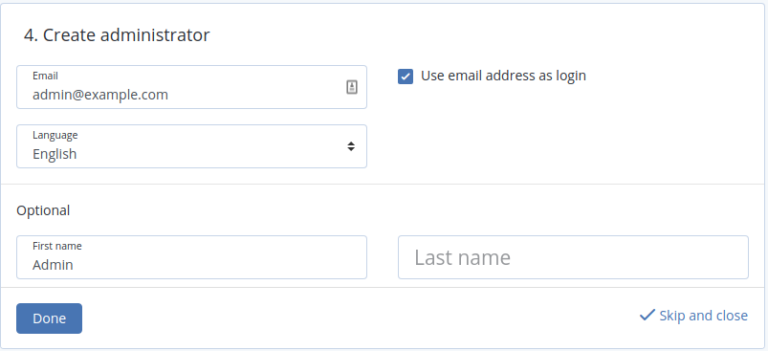
A verification link will be sent to the email address and password has to be set from it. This login will be used to configure backups in cPanel servers.
You can access the cloud console from : https://eu-cloud.acronis.com/bc
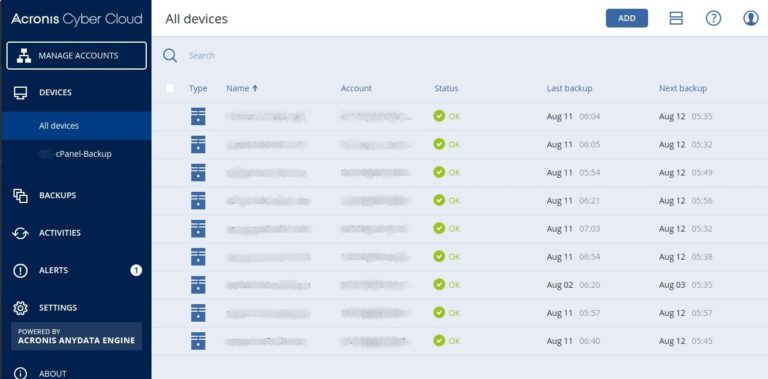
You can follow the article Adding cPanel Servers to Acronis Backup Cloud to add cPanel servers to Acronis.
Miscellaneous
- Configuring Backup Plan
After a cPanel server is added to the acronis backup plan can be created from Acronis Dashboard >> <Server> >> Add Backup Plan
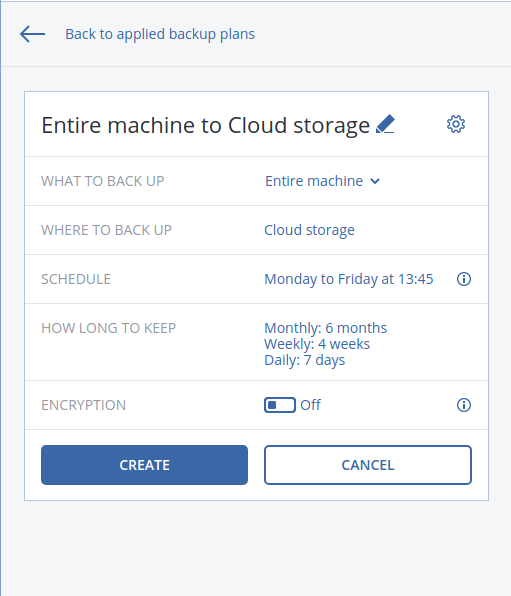
WHAT TO BACK UP:
By default, the entire machine (all disks) will be backed up. Click the arrow, and select what you want to back up:
- Disks/volumes – Backup of everything on selected disks or partitions. This option allows you to exclude HDDs, or the temporary locations you don’t want to back up. Alternatively, you could use this option to create different backup schedules for different drives.
- Files/folders – Backup of selected files and/or folders. This option is best to create a copy of your data. Note that this form of backup will not let you restore your OS or applications, so you could use this as a secondary backup – in addition to the entire machine.
WHERE TO BACKUP:
Local Folders: Backup will be stored locally on the server itself
Network folder: Backup will be transferred to an NFS or SMB mounted destination
Cloud storage: To the selected on-premise storage.
- Excluding files and folders
Acronis Dashboard >> Server >> Backup >> Backup options >> File filters

- Changing Mount directory on the backup
If the snapshot data is large a temporary file will be created for storing the data. If there is no disk space in / partition backup will fail. In this case, we change the mount directory where the tempory files are stored.
https://kb.acronis.com/content/8032


