Jenkins is an open source automation server written in Java. Jenkins helps to automate the non-human part of the software development process, with continuous integration and facilitating technical aspects of continuous delivery. It is a server-based system that runs in servlet containers such as Apache Tomcat. It supports version control tools, including AccuRev, CVS, Subversion, Git, Mercurial, Perforce, ClearCase and RTC, and can execute Apache Ant, Apache Maven and sbt based projects as well as arbitrary shell scripts Linux and Windows batch commands. Jenkins functionality can be extended with plugins.
Install Jenkins
The version of Jenkins which is available by the Ubuntu official repository is often behind the latest version, so in order to take advantage of the latest fixes and features, we’ll use the project-maintained packages to install Jenkins.
Add the repository key with the following command:
wget -q -O - https://pkg.jenkins.io/debian/jenkins-ci.org.key | sudo apt-key add -Now we will add the “deb” package repository address to our source list with the command below:
echo deb https://pkg.jenkins.io/debian-stable binary/ | sudo tee /etc/apt/sources.list.d/jenkins.listUpdate your package manager list to get the latest packages:
apt-get updateFinally, install Jenkins with all of the needed dependencies including JAVA easily:
apt-get install jenkinsStarting Jenkins
Jenkins will work as a service, so you can control it using "systemctl" command. start your Jenkins server with the following command:
systemctl start jenkinsIf you want to make it run at startup execute the command below as well:
systemctl enable jenkinsYou can check Jenkins service status using:
systemctl status jenkinsSetting up Jenkins
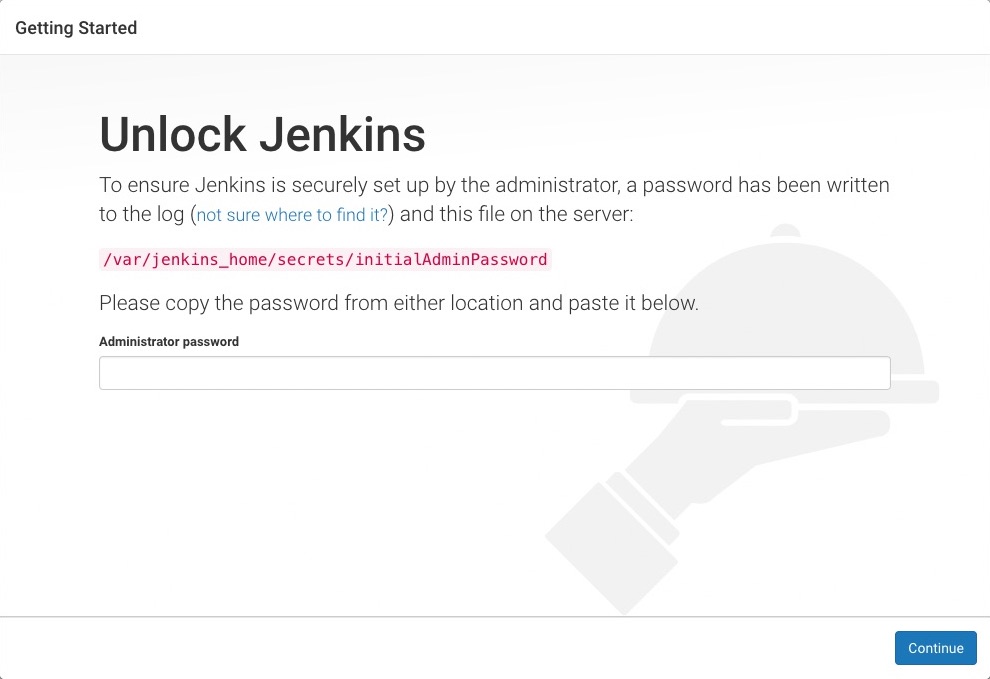
For setting up Jenkins, we need to visit its web dashboard running on the port, “8080”. So open your favorite browser and check http://your_ip_OR_domain:8080.


