Webmin is a lightweight control panel to manage Linux machines with ease. With its web interface, you can create user accounts, set up cron jobs, check disk quotas, and much more. Better yet, installing Webmin is fairly straightforward, and the service is completely free.
Prerequisites
- A new Ubuntu 16.04/18.04 machine with at least 2 GB of RAM.
- A valid DNS name pointing its A record to the IP address of your VPS.
Step 1. Configure fully-qualified domain name (FQDN) of your VPS
For Webmin to work you need to set up a fully-qualified domain name (FQDN). An FQDN is an absolute way of specifying a particular machine on a specific network and includes both a hostname and a domain name. Once you have an FQDN, you can set an A record on its DNS to point toward the IP address of your VPS.
Set the hostname of the system by editing the file /etc/hostname, replacing YOUR-HOSTNAME with your hostname of choice:
$ vi /etc/hostname
YOUR-HOSTNAME
Next, edit the file /etc/hosts and add the following line at the end: The format is YOUR-IP YOUR-HOSTNAME.YOUR-DOMAIN YOUR-HOSTNAME.
$ sudo vi /etc/hosts
YOUR-IP YOUR-HOSTNAME.YOUR-DOMAIN YOUR-HOSTNAME
Here’s an example using an IP of 45.87.56.21, a hostname of webmin and a domain of example.com.
45.87.56.21 webmin.example.com webmin
Run the command below to restart hostname service and network manager to apply changes:
$ sudo systemctl restart systemd-logind.service
$ sudo systemctl restart NetworkManager.service
Now check the hostname and FQDN of your VPS. They should be updated based on what you just specified.
$ hostname
panel
$ hostname -f
panel.YOURDOMAIN
Step 2. Install Webmin
The first step towards the installation of Webmin is to add Webmin’s repository information to your source list for easy installation and updating of Webmin and its modules using apt-get. Edit /etc/apt/sources.list and add the following lines at the end of the file.
$ sudo vi /etc/apt/sources.list
....
....
deb http://download.webmin.com/download/repository sarge contrib
Add Webmin’s PGP key, so your system trusts the new repository we just added.
$ sudo wget -qO- http://www.webmin.com/jcameron-key.asc | sudo apt-key add OK
Update the system and install Webmin:
$ sudo apt-get update
$ sudo apt-get install webmin
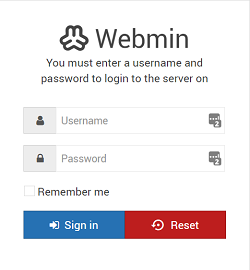
You can now visit the Webmin interface via https://YOUR-HOSTNAME.YOUR-DOMAIN:10000. Webmin warns you about an untrusted certificate—that’s fine, just add it to the exception list and login with the user you use to connect to the server via SSH.

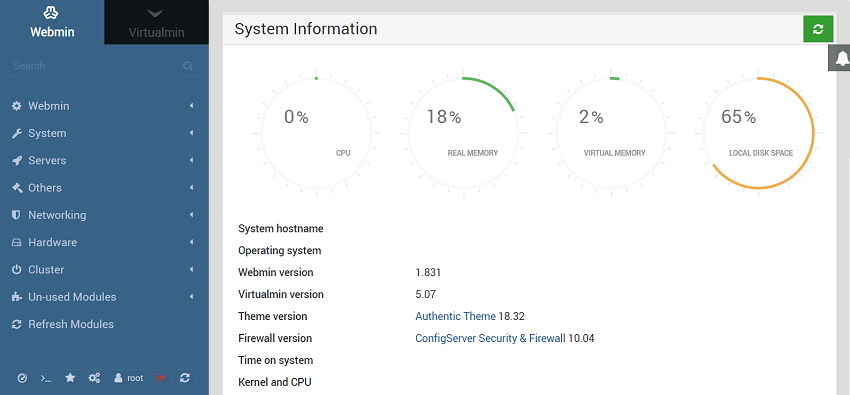
On successful login, you are redirected to the Webmin dashboard.

Step 3. Install Let’s Encrypt
To keep the connection with your Webmin server encrypted, let’s use a free Let’s Encrypt’s SSL certificate. First, clone the Let’s Encrypt repository in the /usr/local folder.
$ cd /usr/local
$ git clone https://github.com/letsencrypt/letsencrypt
Navigate to Webmin > Webmin Configuration in the Webmin dashboard and click on the box with a gear icon on the top-left corner called “Module Config.” Enter the full path (/usr/local/letsencrypt/letsencrypt-auto) of the Let’s Encrypt binary and hit the save button.
Go to Webmin > Webmin Configuration > SSL Encryption and select the Let’s Encrypt tab. Enter your domain name in hostname for certificates box. Choose Other directory for Website root directory for validation file option and enter /var/www/html. You can choose another directory in place of /var/www/html, but make sure the Let’s Encrypt ACME challenge can access that directory. Keep the rest of the options in their default state.
Click Request Certificate. On successful fetching of the certificate, you get the following message:
Now that the Webmin is installed and encrypted with SSL, you can start exploring its many features and capabilities. An excellent place to start it upgrading your system’s packages. All packages available for the update are listed on the left-hand side under the Package Updates section.


