Moodle is a free and open-source learning management system written in PHP. Moodle is used for blended learning, distance education, flipped classroom and other e-learning projects in schools, universities, workplaces and other sectors. it is used to create private websites with online courses for educators and trainers to achieve learning goals. Plugins are a flexible toolset, allowing Moodle users to extend the features of the site.Moodle runs without modification on Unix, Linux, FreeBSD, Windows, OS X, NetWare and any other systems that support PHP.

Requirments
In this tutorial, we are going to install PHP 7 which is not provided by the official RHEL repository so we need to add “Webtatic” repository in order to get access to PHP 7.
First, we need to install EPEL repo:
yum install epel-releaseNow you can add Webtatic with the following command:
rpm -Uvh https://mirror.webtatic.com/yum/el7/webtatic-release.rpmInstall PHP 7.0
You can easily install PHP 7 and the needed dependencies with the command below:
yum install php70w php70w-curl php70w-gd php70w-intl php70w-ldap php70w-mysql php70w-pspell php70w-xml php70w-xmlrpc php70w-zip php70w-common php70w-opcache php70w-mbstring php70w-soapInstall Apache
Obviously, in order to serve our Moodle, we need a web server. we are going to install Apache as our web server:
yum install httpdAfter the installation process is finished, you have to start and enable the Apache service with following commands:
systemctl enable httpd
systemctl start httpd
for setting the correct DocumentRoot, open your Apache configuration file with the command below:
nano /etc/httpd/conf/httpd.confFind the line that refers to “DocumentRoot” and change it like below:
DocumentRoot "/var/www/html/moodle/"Then restart Apache service to take effect:
systemctl restart httpdInstall and configure MariaDB
Execute the following command to install MariaDB and its service:
yum install mariadb-serverStart and enable the service:
systemctl start mariadb
systemctl enable mariadb
Configure MariaDB
In order to get your MariaDB to be compatible with Moodle, you need to enable “InnoDB” engine.
Open MariaDB configuration file with your text editor:
nano /etc/my.cnf.d/server.cnfAdd the following lines at the very end of the file:
[client]
default-character-set = utf8mb4

[mysqld]
innodb_file_format = Barracuda
innodb_file_per_table = 1
innodb_large_prefix

character-set-server = utf8mb4
collation-server = utf8mb4_unicode_ci
skip-character-set-client-handshake

[mysql]
default-character-set = utf8mb4
Then save and exit.
Restart MariaDB service to take effect:
systemctl restart mariadbCreate Database and User for Moodle
In this section, we are going to create a Database for Moodle and a user who have the privileges.
Log in to your MariaDB as root user with the following command:
mysql -u root -pIssue the following command to create a database (replace the red parts with your own values):
create database moodle;Create a user with full privileges on Moodle database:
grant all privileges on moodle.* to 'admin'@'localhost' identified by 'password';It’s done, you can log out with the following command:
quitDownload and install Moodle
You can download the latest stable version of Moodle with the following command:
wget https://download.moodle.org/stable34/moodle-latest-34.tgzExecute the following command to extract the files to the correct path:
tar xvzf moodle-latest-34.tgz -C /var/www/html/Set Apache as the owner of the whole DocumentRoot:
chown -R apache:apache /var/www/Installing Moodle
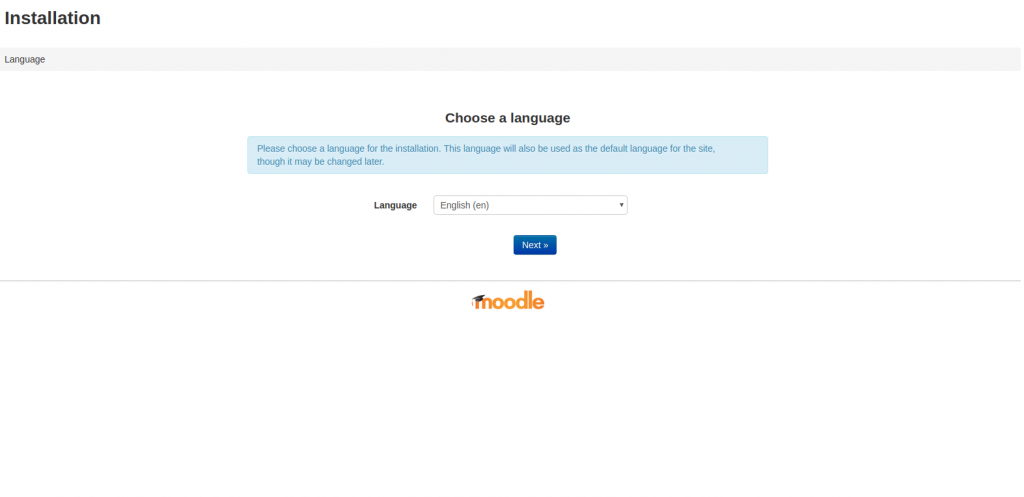
Open your favorite browser and enter your Domain or your Public IP Address, this should be visible:


